Customize SharePoint List Forms Using PowerApps

Vivek

PowerApps is part of Microsoft’s Power Platform technologies offerings, which include Power Automate and Power BI (desktop and web). It comes with a lot of user-friendly features, which helps even a non-developer build powerful forms for different layout with various data sources.
It’s built to customize SharePoint list forms (linked directly from the list) so that the site user who has access to the file can edit the list forms according to their requirements. If you customize the form for a list and want to replicate it into another list/site, PowerApps doesn’t provide such a feature. Also, this is a business problem when you move to a different tenant or within the same tenant!
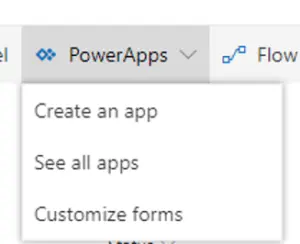
To modernize SharePoint experience, developers need to create an app to uplift SharePoint experience for their users. Specifically, the new SharePoint list menu, you will now have an option to create a PowerApp for this list.
The integration between PowerApps and SharePoint is seamless, you are not required to manage forms in two places, but they are some challenges the user is required to follow to customize apps.
Challenges Faced to Customize Apps
The standard-issue developers face how to migrate from one site to another / one tenant to another.
While PowerApps gives you the option to export app the package, but one needs to follow some steps to make it work in a new site/tenant. The following guide gives a brief idea of how to solve the problem of using custom forms across sites/tenants for any user.
Here are some steps you can follow to move a SharePoint Custom list PowerApps form one tenant to another.
Step-by-Step Guide to Personalize SharePoint List Forms using PowerApps
Steps to create customized SharePoint list forms as an app in PowerApps and importing as a package in another tenant.
- Go to your SharePoint site, create a list (if not yet created it), customize forms through the PowerApps (ex: change font color or background color)
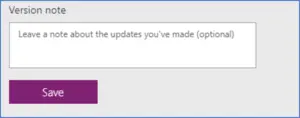
2. Save and Publish the app

3. Then, export this as a package.

4. Provide the name for the package with the description

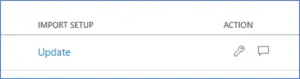
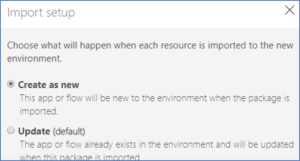
5. While exporting, please make sure that Import Setup should be as Create as New and save it.
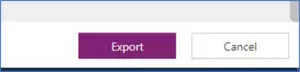
6. Now, click on the Export button. This will start downloading a zip file.
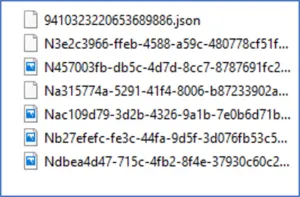
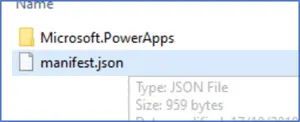
7. The exported zip package contains Microsoft.PowerApps folder and manifest JSON file. You have to navigate to PowerApps\apps\ [numeric values] (refer to below screenshots). Inside this folder hierarchy, navigate to Microsoft.PowerApps\apps\ [numeric values]. There will be only one JSON file, which needs to be edited.

Note: Before you perform the below steps, please navigate to the site where you want to copy/move this app (irrespective of the tenant). If you haven’t created the list, please create a similar list as you already created in the source site.
Once the list is ready, please get the List ID by navigating to Site Contents. In the Site Contents,
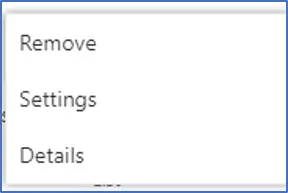
Select the list and click on the dots against the list name, go to Settings.
In the browser URL, note down your list ID

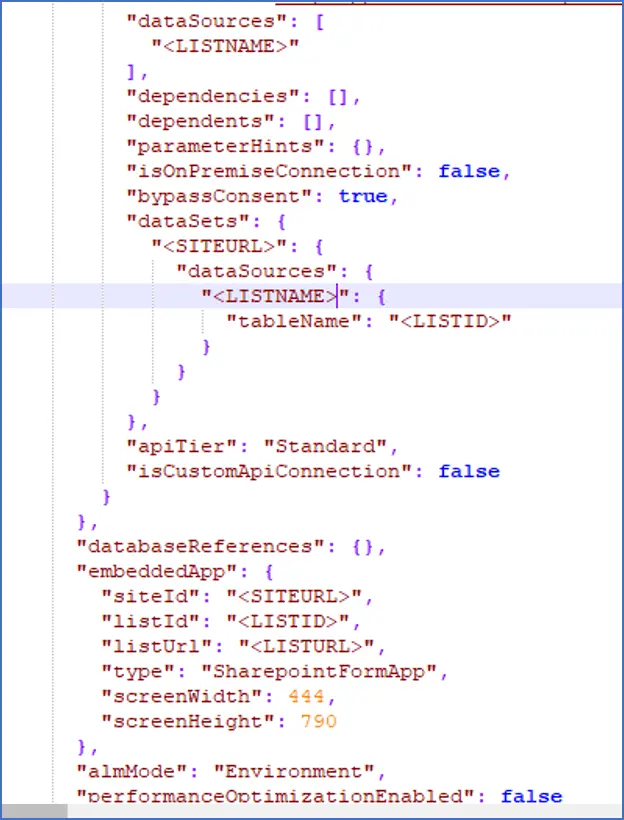
8. Open the JSON file in JSON editor app, now replace following sections
- In the embedded App, replace SiteID with target site URL, ListID with target listId and listUrl with target listUrl (here target refers to list where you want to copy the app)
- In dataSources, change its target list name (internal name)
- The table name should be target listId (GUID)
- In the dataSets, change it to target site URL
9. Save JSON in the same folder. Now zip the folder again, make sure the folder hierarchy should remain the same
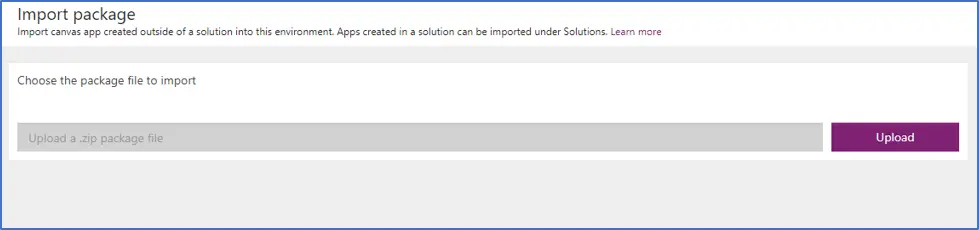
10. Go to the PowerApps (where you want to import this app), from the Apps tab navigate to Import as Package page.

11. Select and upload the newly zipped folder to Import the package. Once the file is uploaded, start import by clicking on the Import button.
12. On successful import of the app, you will have the option to Open the app
13. Open the app, here the data source connection will be still old site list, so to add new SharePoint connection and change data sources to the latest connection. Delete Old SharePoint Connection. Add your list as the new data source. You may need to replace the data source connection in several places of the app
14. Save and Publish the app. Test the app by adding/editing items
15. If the changes don’t reflect, go to the list and click on the Customize Forms from the PowerApps menu. Make the required changes, save and Publish the app.
If you are looking to create a SharePoint form using PowerApps then this step-by-step guide on can help you expedite the process.