How to Use Azure Key Vault Secret Management from a Web Application

Sree Navya

Azure Key Vault is a cloud service that provides a secure store for secrets. One can securely store passwords, keys and connection strings. Azure Key Vault can be created and managed using the Azure portal.
Advantages of Azure Key Vault :
- Secrets Management– in a secure manner, one can store and control access to tokens, passwords, certificates, API keys, and other secrets.
- Key Management– As a key management solution, Azure Key Vault simplifies the process of creating and managing encryption keys.
- Certificate Management– It serves as a service to provision, manages, and deploy public and private Secure Sockets Layer/Transport Layer Security (SSL/TLS) certificates. These can be used with Azure and other internal connected resources.
- Hardware Security Modules – Secrets and keys can be protected by software, or FIPS 140-2 Level 2 validated HSMs.
In this blog, we will learn how to:
- Create an Azure key vault
- Create a secret in the vault and store a value
- Retrieve and use the secret value in the web application
How to create an Azure key Vault:
- Login to Azure portal with your subscription
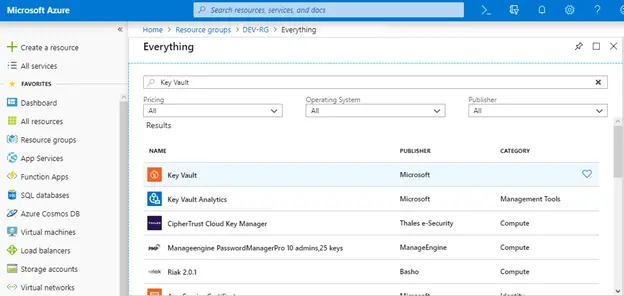
- Search for the ‘Key Vault’ service in the search box as shown below.
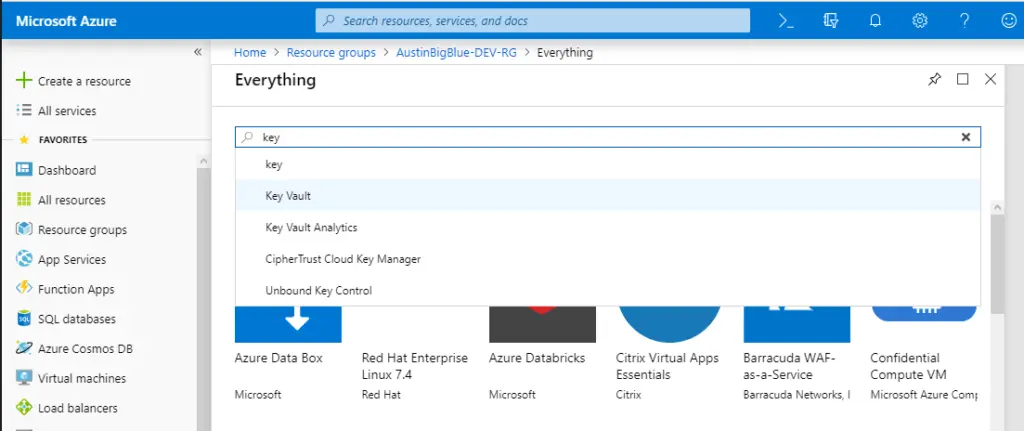
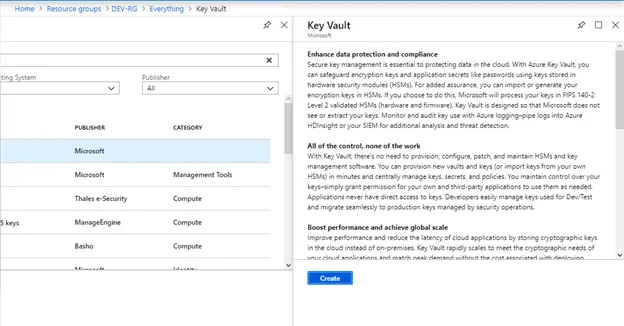
3. Click on the ‘Key Vault’ from the list.
4. You will be navigated to the following screen for creating the key
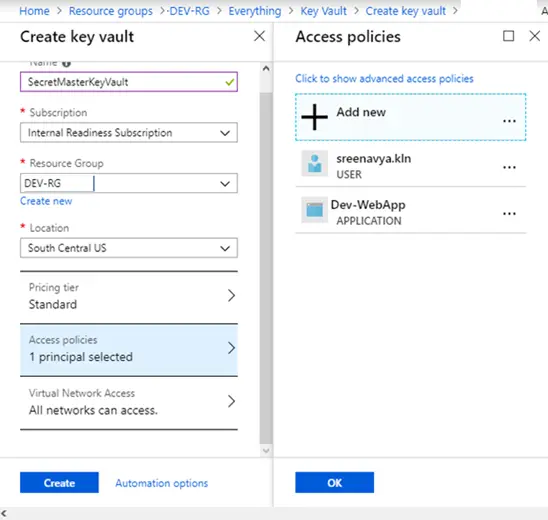
5. Provide the required details such as Name, Subscription, Resource Group, Location, Pricing Tier.
6. Choose the access policies as shown below.
- Click on ‘Add new’ under the Access policies
- Select the template as ‘Secret Management’
- Select the principal by searching for the application from where the key vault needs to be accessed from.
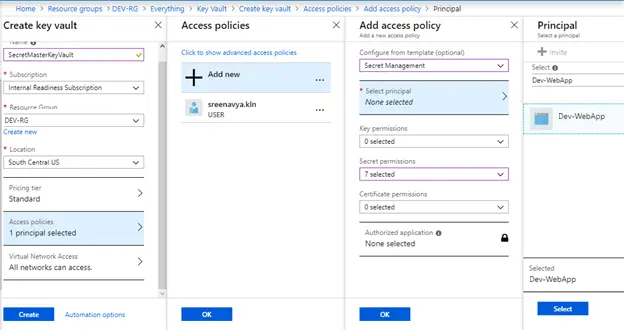
7. Once selected, click ‘Select.’

8. Once the principal is selected and clicked on ‘OK,’ the principal is shown in the list as below. Then click ‘OK’ and ‘Create’ for creating the key vault with provided details.
How to create a secret and store a value
- Open the key vault created with the specified name. Under the settings section, click on ‘Secrets’ as shown below. This will open a pane on the right to display the list of secrets.
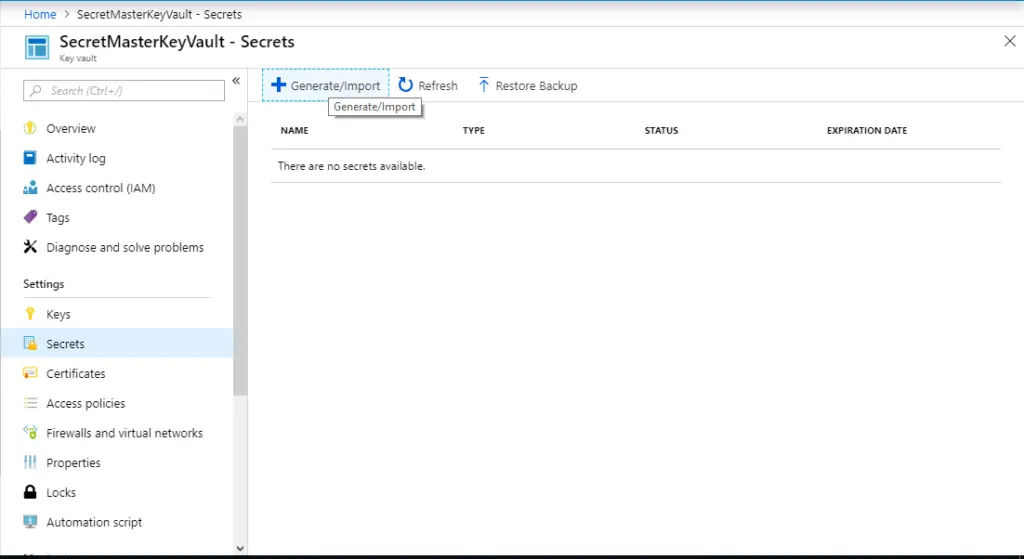
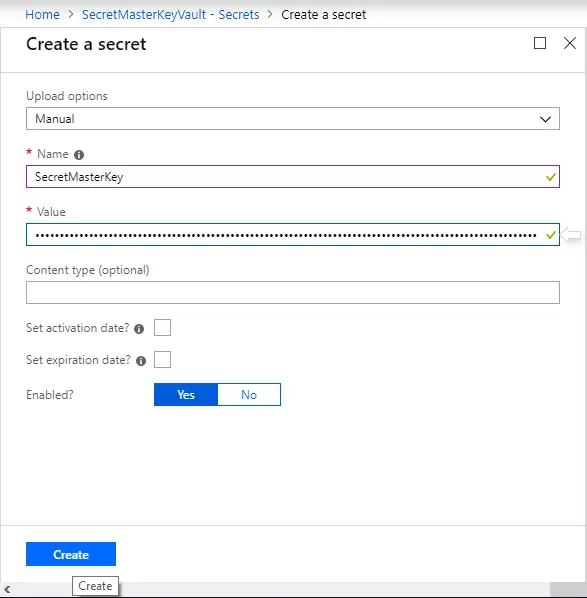
2. Click on ‘Generate/Import’ to create a secret. This will navigate to the screen as shown below. Provide all the required information like Name and Value and click on ‘Create’.
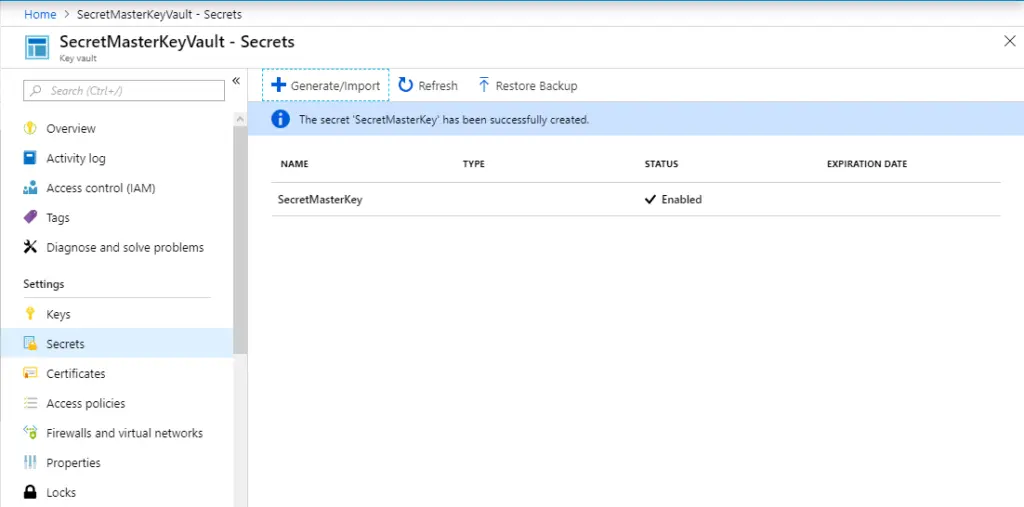
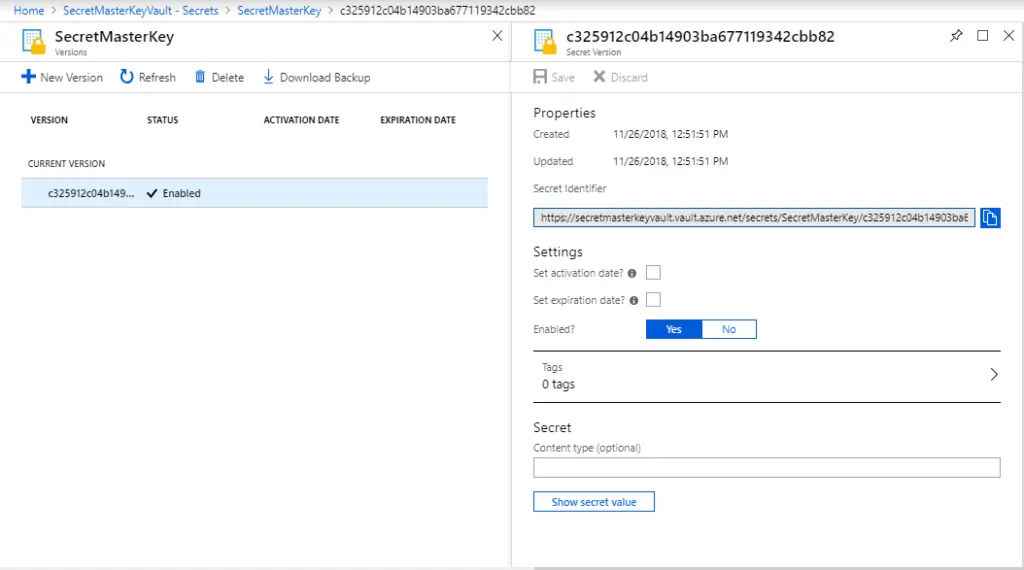
3. Once the secret is created, it will be listed in the key vault as shown below.
4. Click on the secret created and open the properties. Copy the ‘Secret Identifier’ as shown below for accessing the secret from the code. https://secretmasterkeyvault.vault.azure.net/secrets/SecretMasterKey/c325912c04b14903ba677119342cbb82
Retrieve and use the secret value in the web application
In order to use the key vault from the web application you need to have the following:
- A URI to a secret in an Azure Key Vault – This is got from the final step above
- Client ID and a Client Secret for the web application registered with Azure Active Directory that has access to your Key Vault
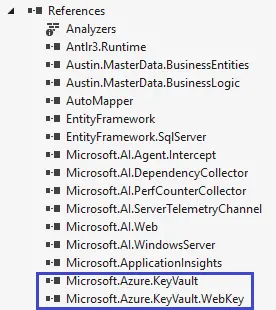
- Add the Nuget packages shown in the below screenshot to the web application
2. Add the ClientId and ClientSecret of the web application in the web.config
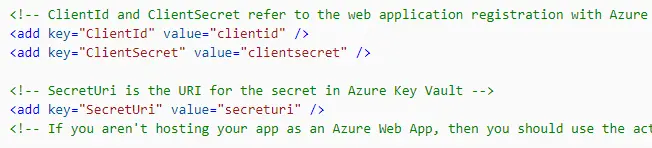
3. Add the SecretURI in the web.config file as below.

4. In the code behind (.cs) file, read the secret uri from the configuration.

5. Below is the code snippet which reads the secret from the key vault by authenticating the vault with the ClientID and client secret of the registered web application.

Now the value retrieved can be used in the code as required.
This way one can secure the connections strings, keys or passwords in the Azure Key Vault and use them in the web application where applicable.