How to Integrate Maven and Jenkins with Selenium

Naveen
Invoking the build process manually is difficult to keep track of the built process, sequences, and dependencies in any project, so automating the build process has become essential to save time and maintain consistency and reliability throughout the project.
Maven is one of the build automation tool that is hosted by Apache Software Foundation, and was formerly part of the Jakarta project. Maven helps generate the build and manage the projects developed on Java, C#, Ruby, Scala, and other languages by using project object model (POM) and plugins.
Maven stores all project jars, library jar in a central/local/remote repository and downloads all required dependencies from the repository and stores in a local storage called .m2.
Maven – Set up
Step 1: To setup Maven, download the maven’s latest version from Apache depending upon different OS.
Step 2: Unzip the folder and save it on the local disk.
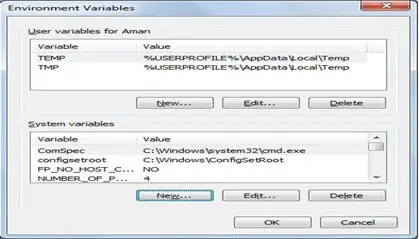
Step 3: Create environment variable for MAVEN_HOME. Follow the below step:
Navigate to System Properties ->Advanced System Setting->Environment Variable ->System Variable ->New ->Add path of Maven folder
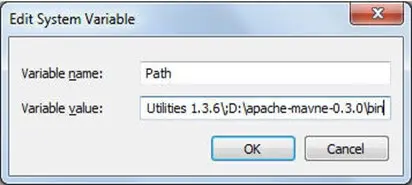
Step 4: Edit path variable and provide the bin folder path.
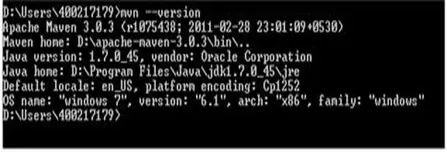
Step 5: Now verify the maven installation using command prompt and don’t forget to setup JAVA_HOME
Use mvn –version to verify maven version in the command prompt window.
Maven can be integrated with Eclipse IDE by adding the m2eclipse plugin to Eclipse to facilitate the build process and create pom.xml file.
Adding m2eclipse plugin to Eclipse with following steps
Step 1) In Eclipse IDE, select Help | Install New Software from Eclipse Main Menu.
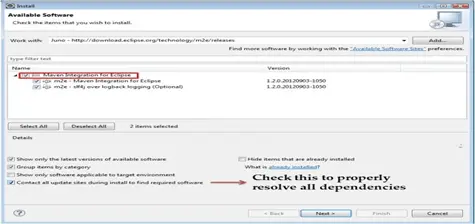
Step 2) On the Install dialog, select Work with and m2e plugin as shown in the following screenshot and select Next and finish installation.
How to configure Eclipse with Maven
With m2e plugin is installed, we now need create Maven project.
Step 1) In Eclipse IDE, create a new project by selecting File | New | Other from Eclipse menu.
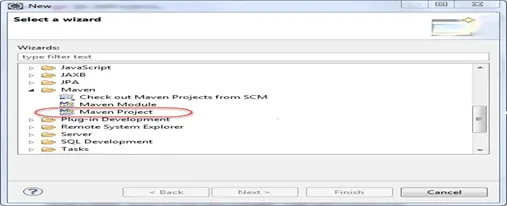
Step 2) On the New dialog, select Maven | Maven Project and click Next.
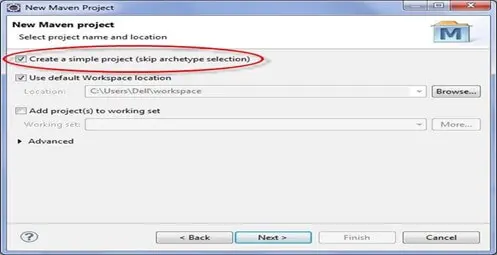
Step 3) On the New Maven Project dialog select the Create a simple project and click next.
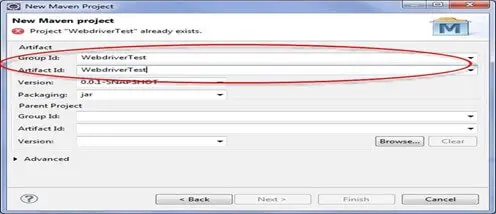
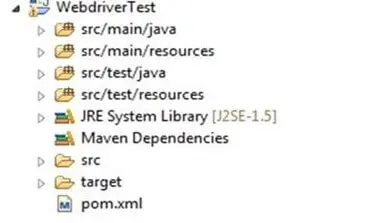
Step 4) Enter WebdriverTest in Group Id: and Artifact Id: and click finish.
Step 5) Eclipse will create WebdriverTest Project with following structure.
Executing the Maven Build
Project can be built by both using IDE and command prompt
Using IDE, right click on the POM-Run as Maven build
Same can be done using command prompt. Navigate to project folder where pom.xml lies
Use the below commands to clean, compile and install
Clean: mvn clean
Compile: mvn compile
Install: mvn install
Integration of Maven with Jenkins
Jenkins is an open-source automation tool and allows us to continuously deliver the software and continuously making it easier to integrate the changes to the project and obtain a fresh build.
Below are the steps to set up Jenkins
Step 1: Download Jenkins war file from https://Jenkins.io/
Step 2: Place the war file into any location on our system
Step 3: Go to command prompt (windows) and terminal(mac)
- Go to folder where Jenkins.war is
- java – jar jenkins.war
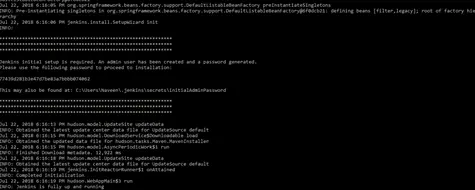
Step 4: Go to browser http://localhost:8080 and Jenkins dashboard should show up
To start Jenkins (standalone) on a different port, use the below command
java –jar Jenkins. War– httpPort=9090
Configure Maven with Jenkins
Maven can be integrated with Jenkins, and this can be achieved by installing the maven2 project plugin for the tool.
- Navigate to http://localhost:8080
- Click Manage Jenkins
- Click Configure System
- In the Maven installation section-> click Add Maven button ->uncheck install automatically checkbox ->enter Maven_Home->Apply->Save
- Execute Maven project using Jenkins
- Go to Jenkins dashboard
- Click on New item
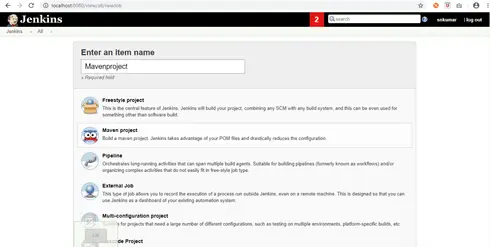
- Go to Build Environment->Enter the POM.xml file path of Maven->Enter Goal and options: clean install.
- Click Apply->Save
Now Maven project is created on Jenkins as below
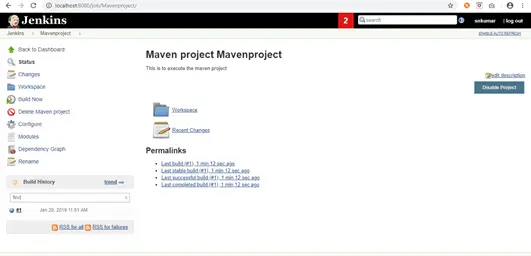
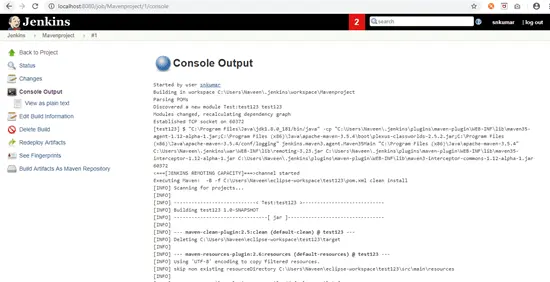
To execute the Maven project, click on the Build Now button and it will invoke the pom.xml file.
Right click on the build number and click on console output to see the result.
Key Advantages
Below are few advantages of Selenium Maven Jenkins Integration.
- Whenever a change is made in the implementation, the changes are deployed on the test environment and developers are kept informed about the build and test stage results.
- Maven reduces the overall dependency of the manual download of jar files. Also, the ‘Maven Project’ type in Jenkins helps in getting started with Selenium Maven.
- The Selenium Maven Jenkins integration is best suited for developing and testing teams distributed across different geographies.
To conclude Maven and Jenkins with Selenium helps to accelerate with minimal required to integrate all the changes and automate the build process for continuous integrated project.